New Product Review & Swatches: BH Cosmetics x It’sMyRayeRaye palette

New product review! This palette may be all you need in your makeup collection.

Hi guys! Happy Monday and happy Martin Luther King, Jr. Day! Can you guys believe we are already halfway through January?? Time is really flying!

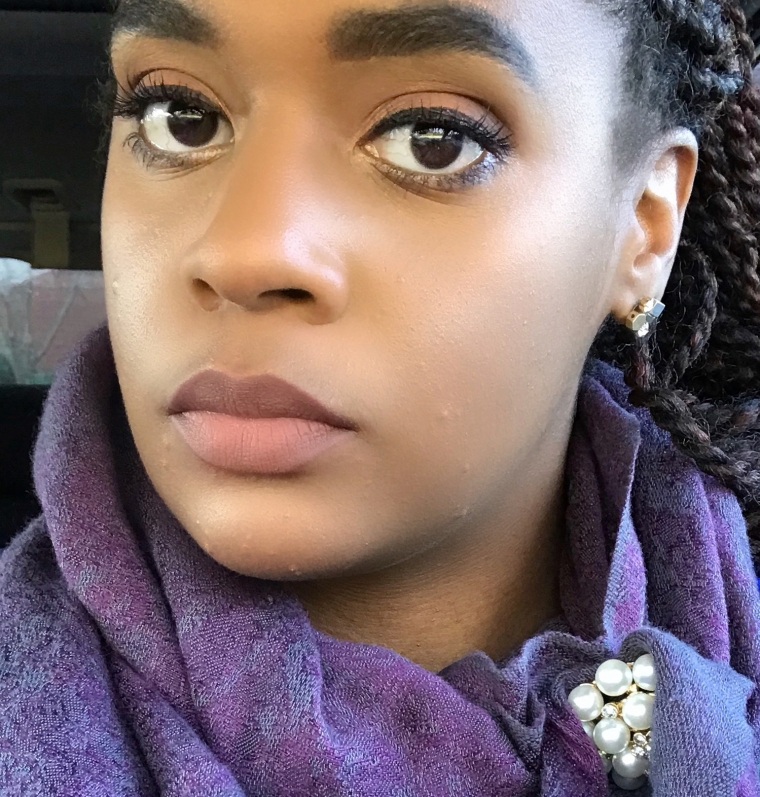
Hopefully you got a chance to check out my Everyday Glam pictorial featuring the BH Cosmetics x It’s My Raye Raye collaboration palette. If not, here’s the link.


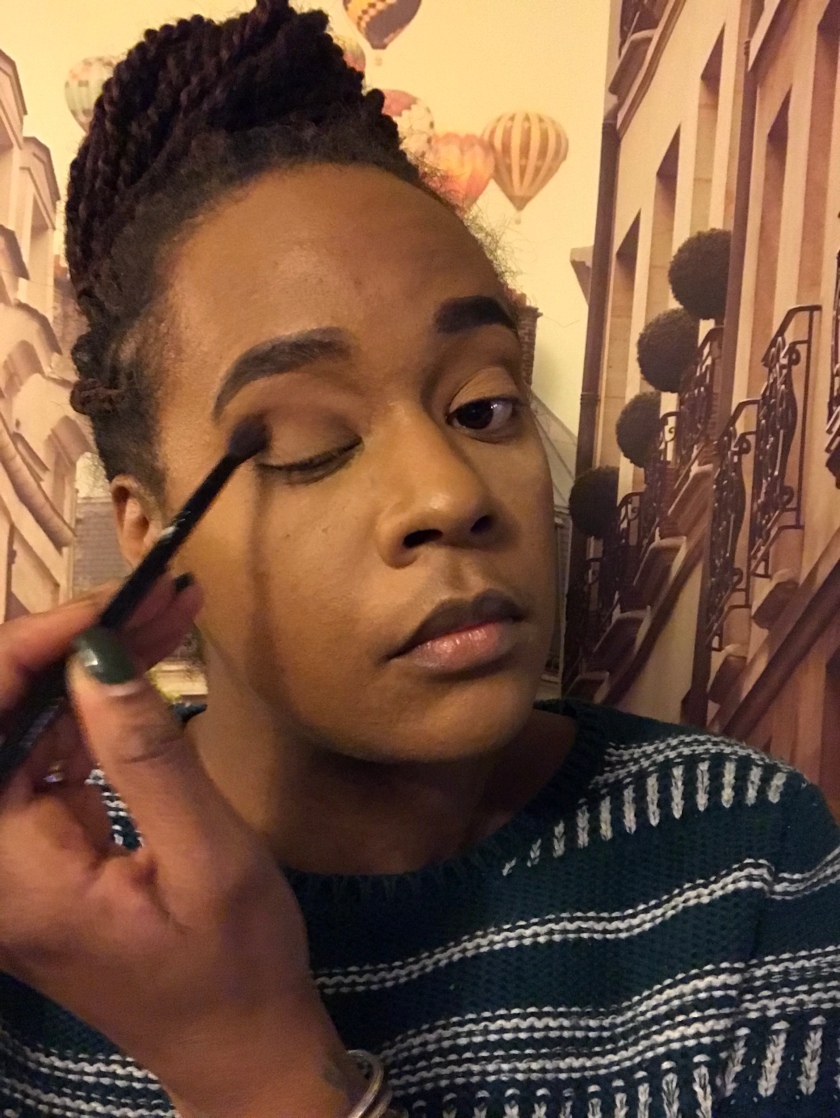
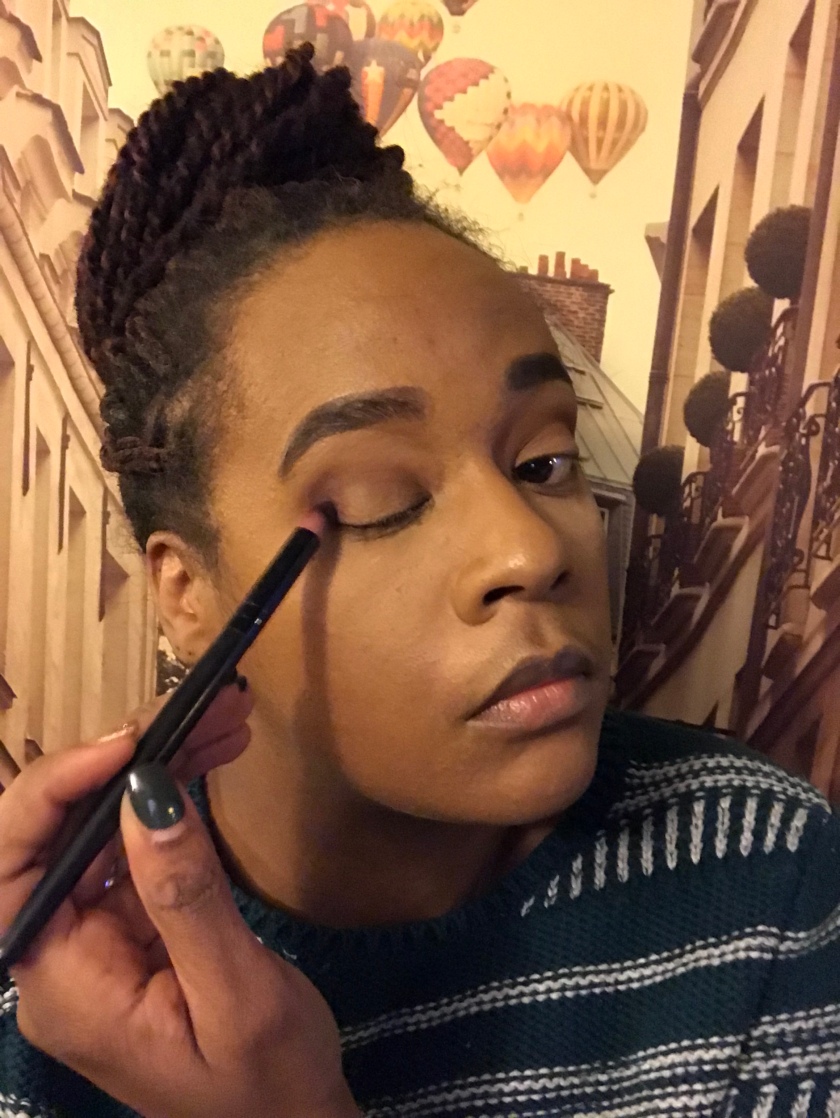
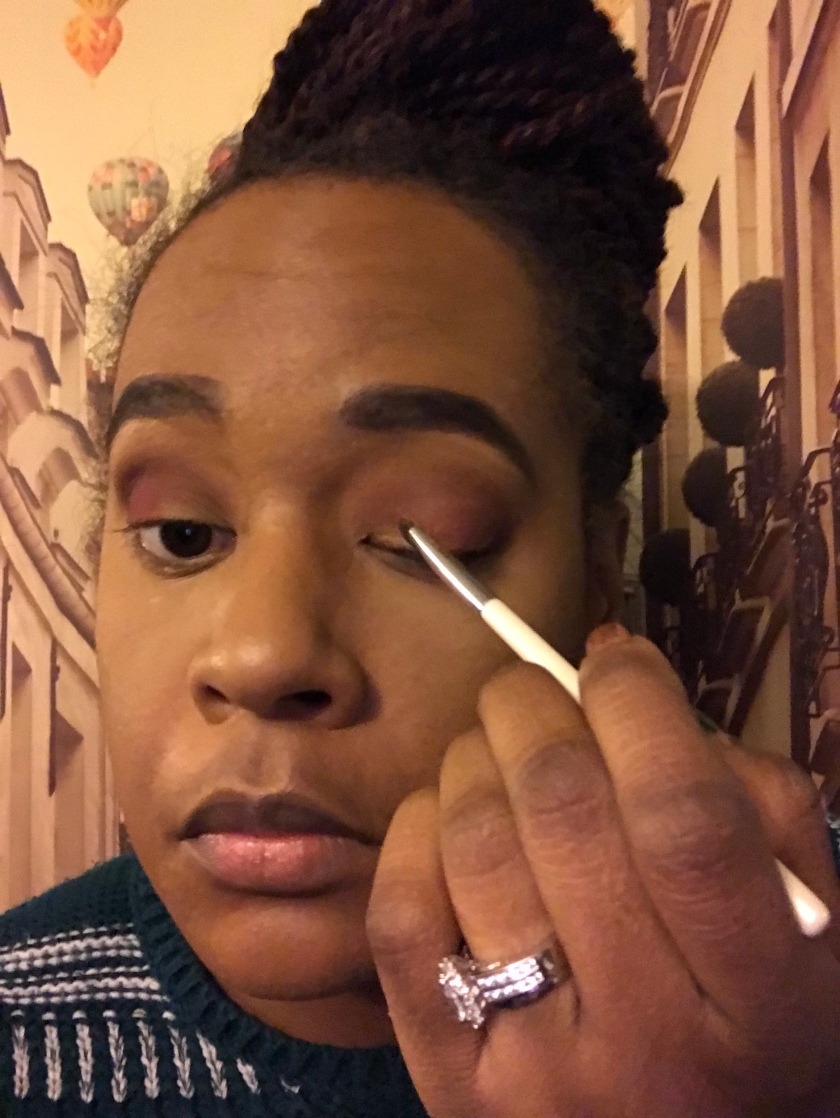
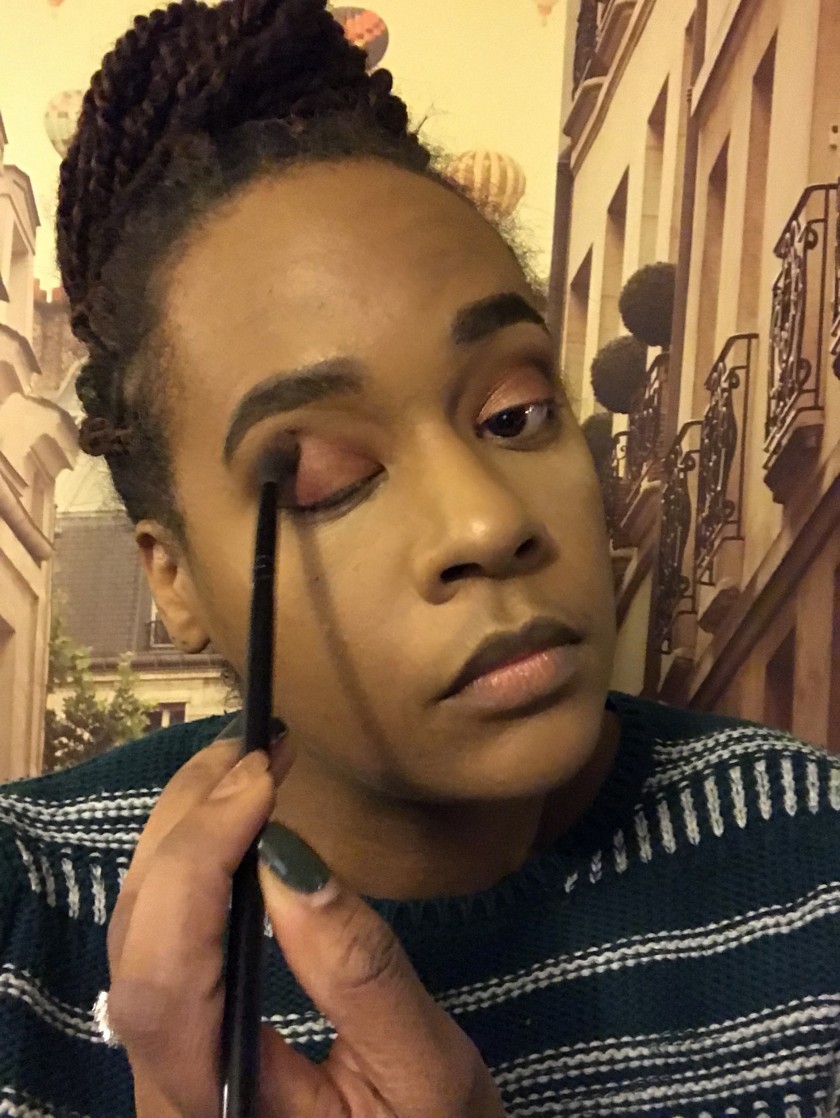
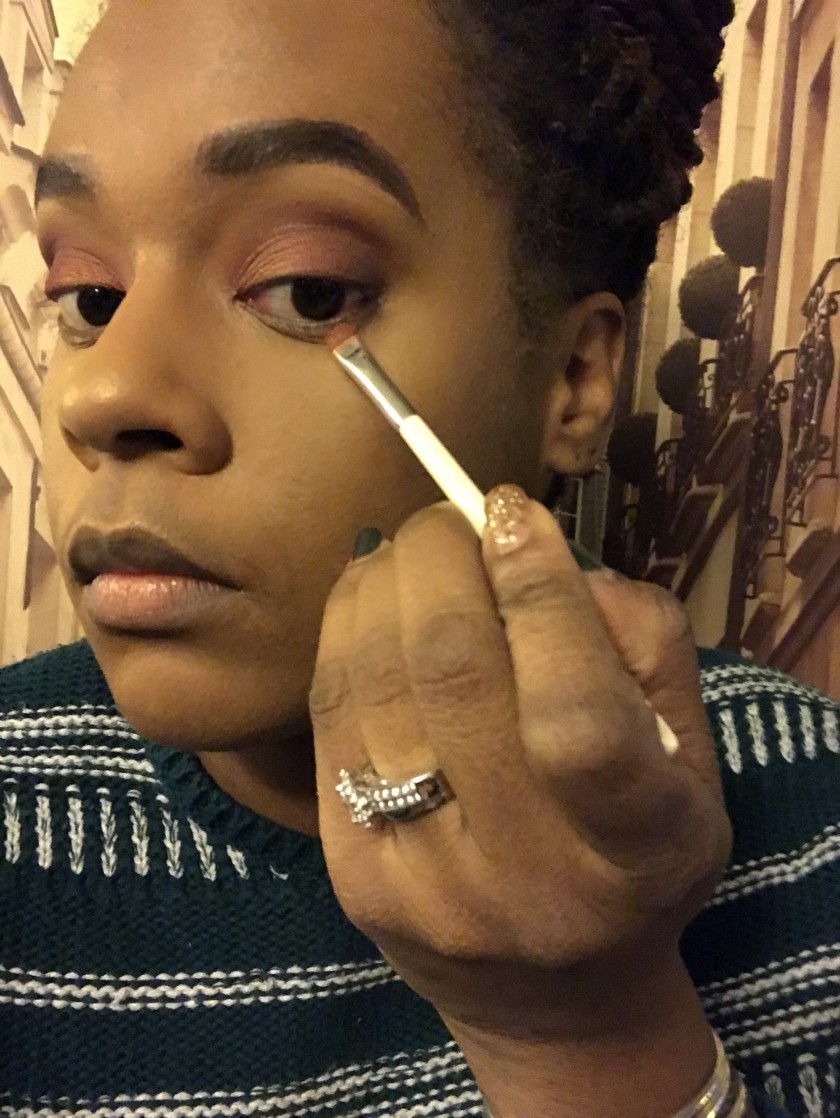
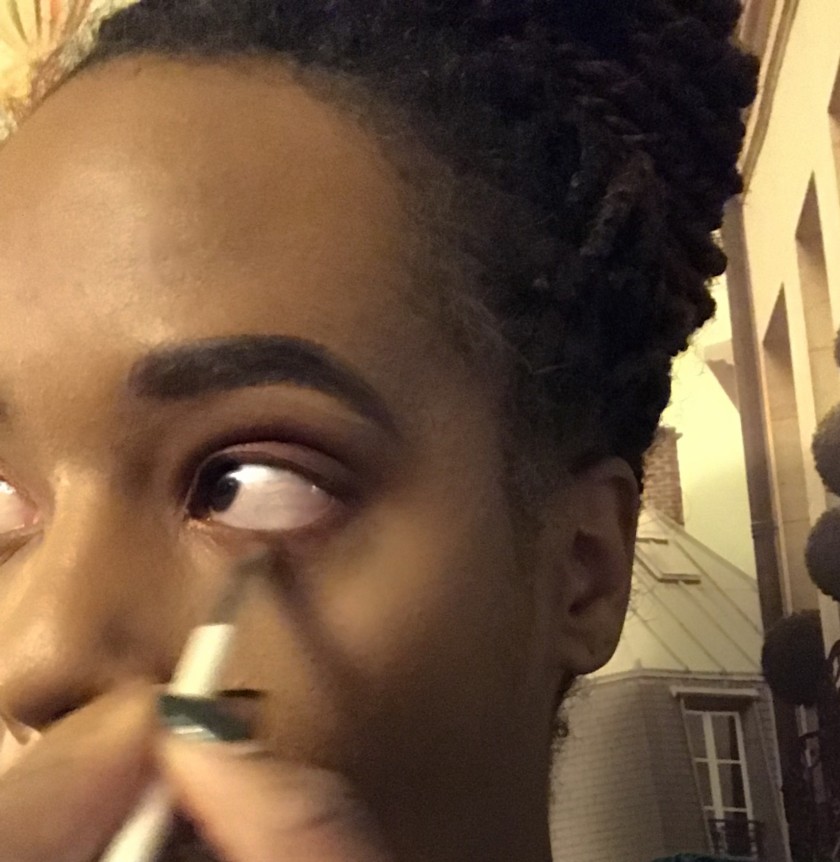
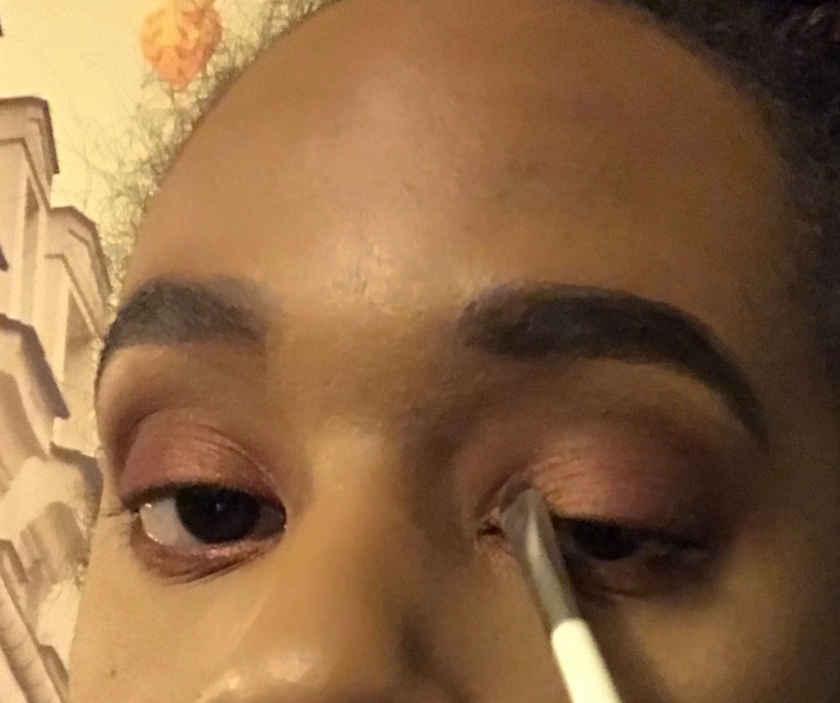
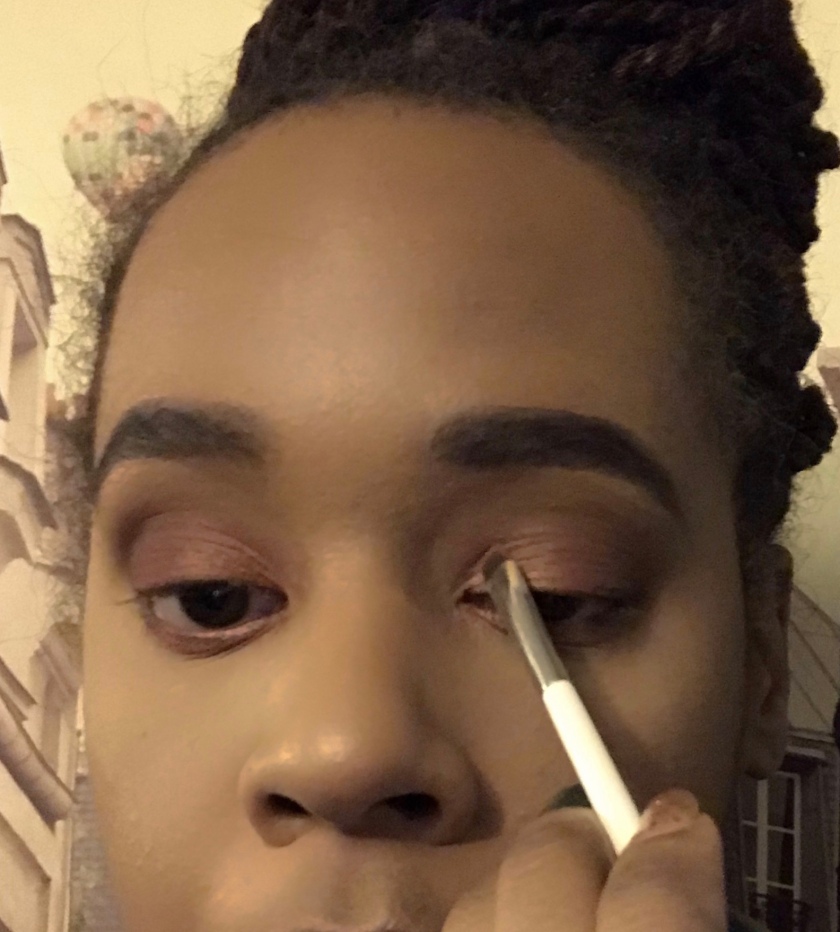
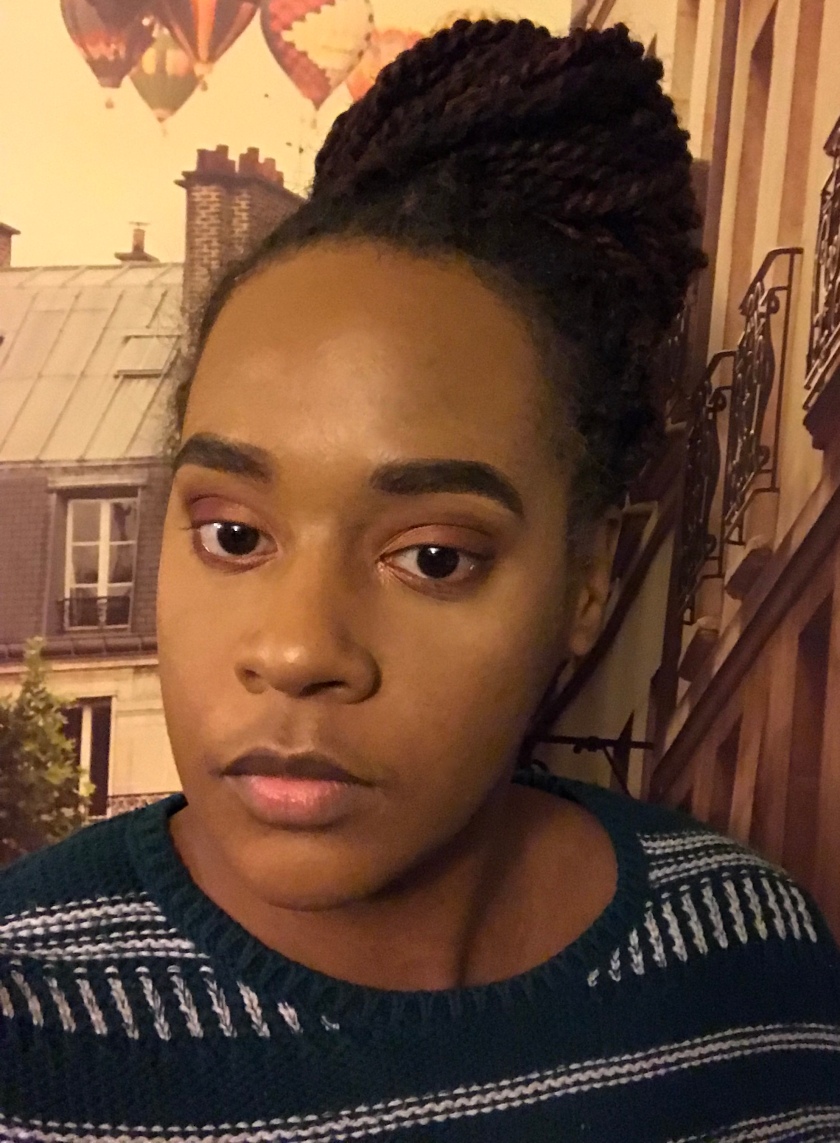
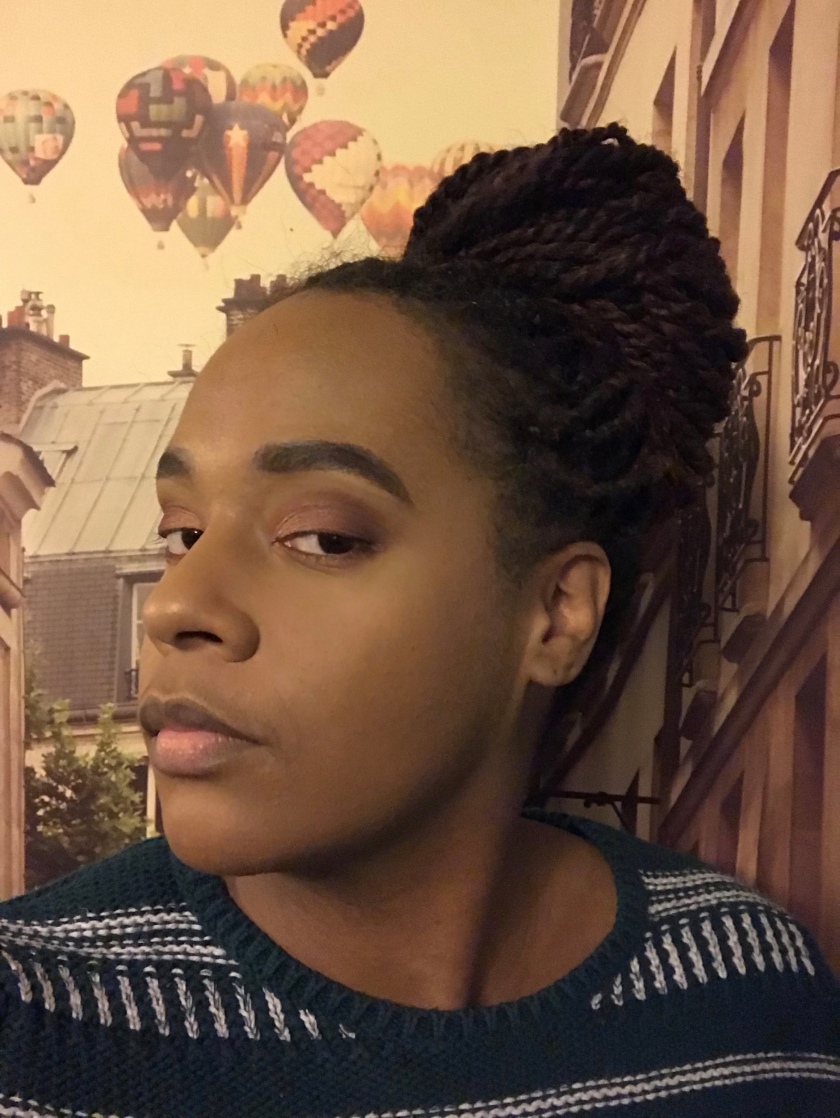
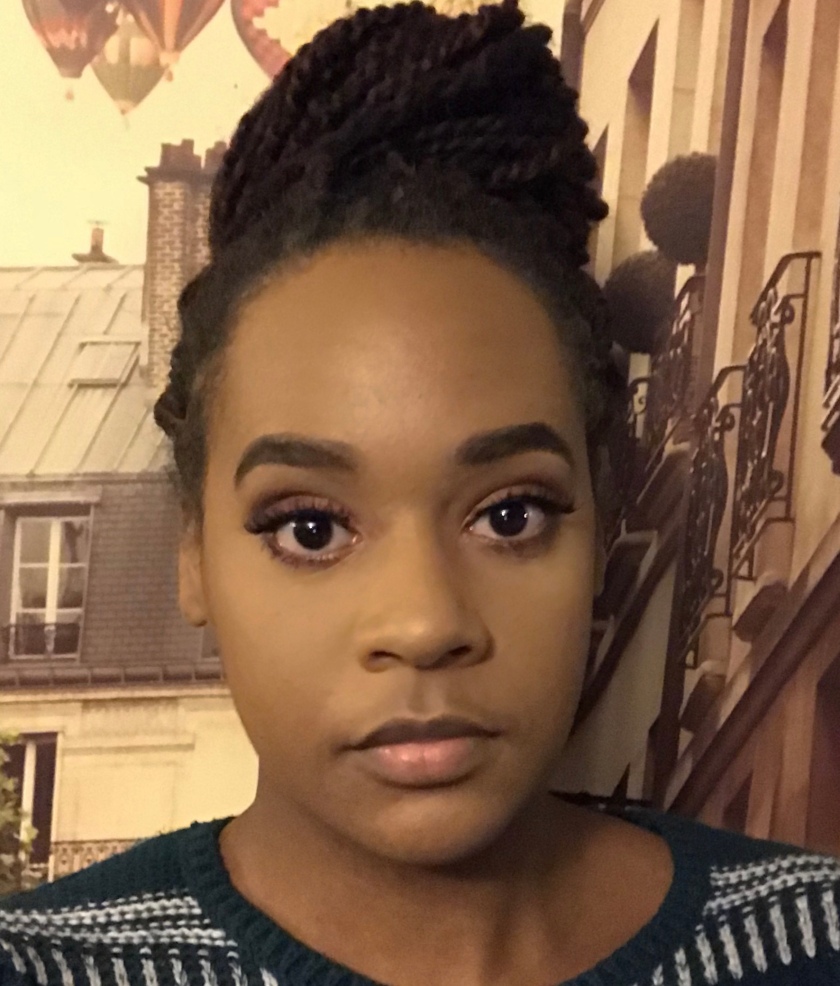
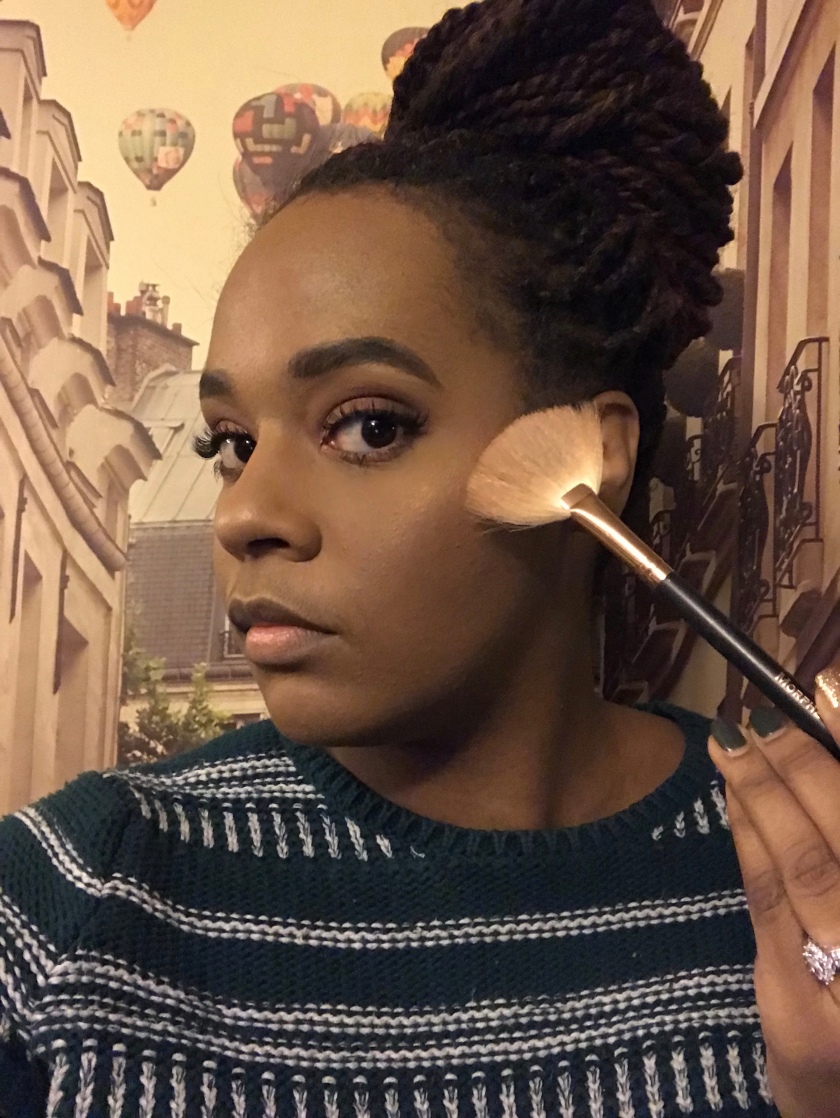
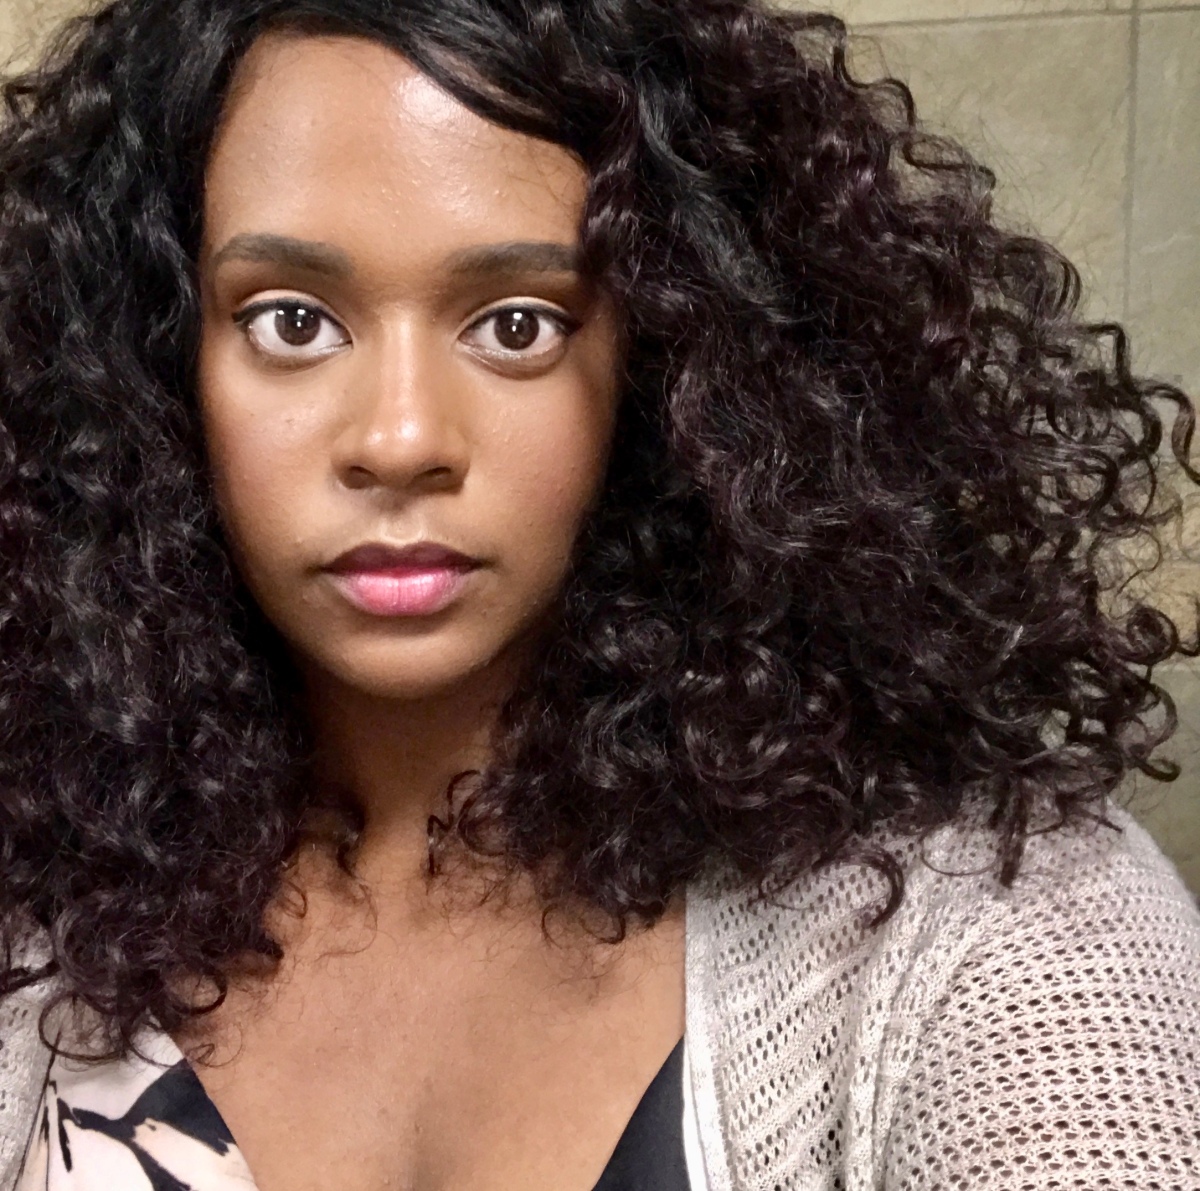
Although it may seem a bit backwards, I wanted to give you guys a full face look with the palette before  reviewing it, because I’ve found that the best way to review a product is to use it. So, now that I was able to really try it out and see how it performed, here are my full thoughts on it, along with swatches. From now on, when I review makeup products I will judge on packaging, color, and wear. So, let’s get started.

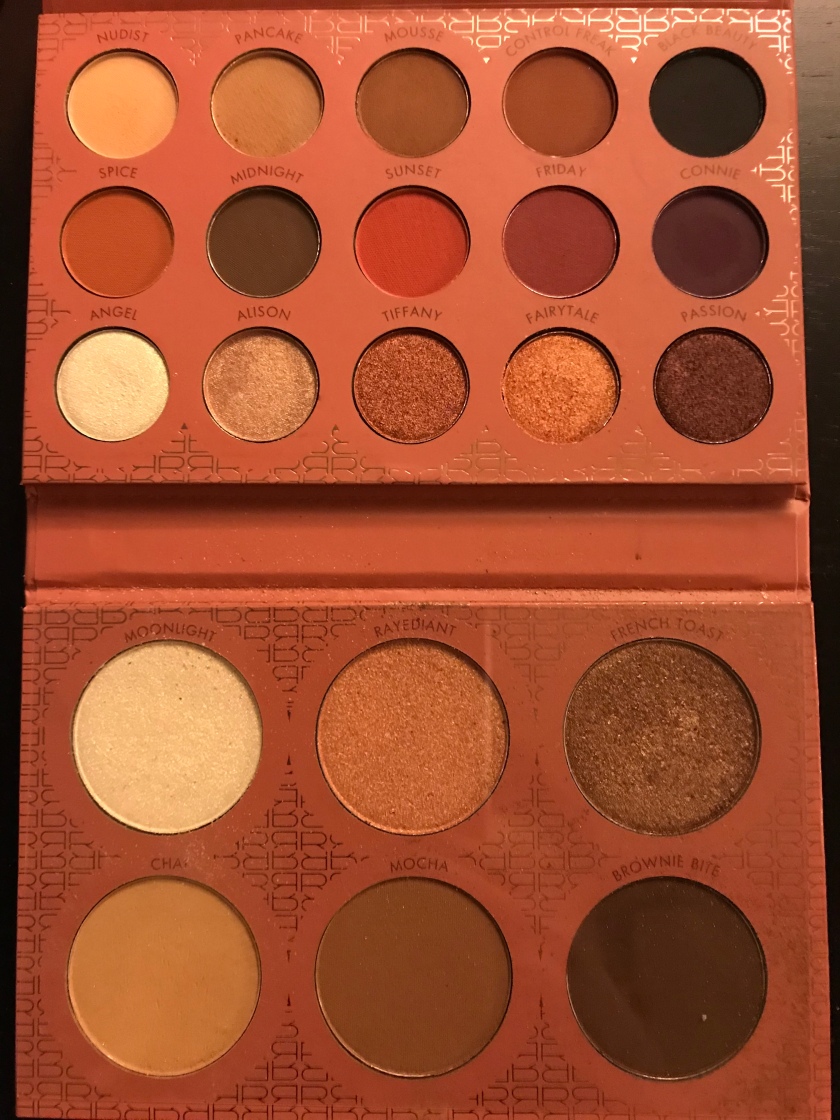
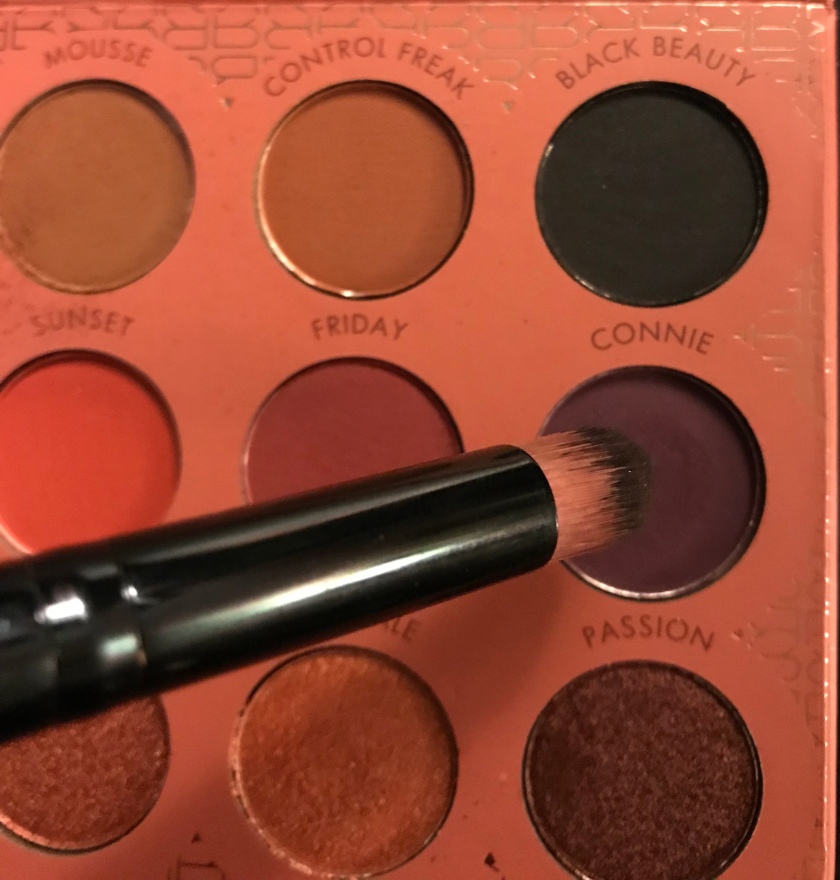
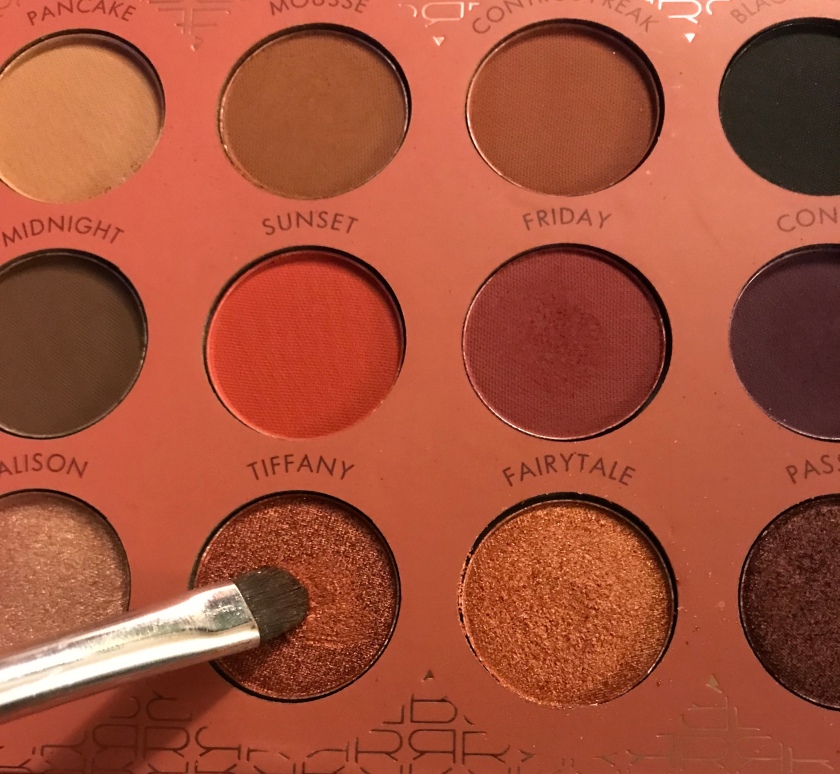
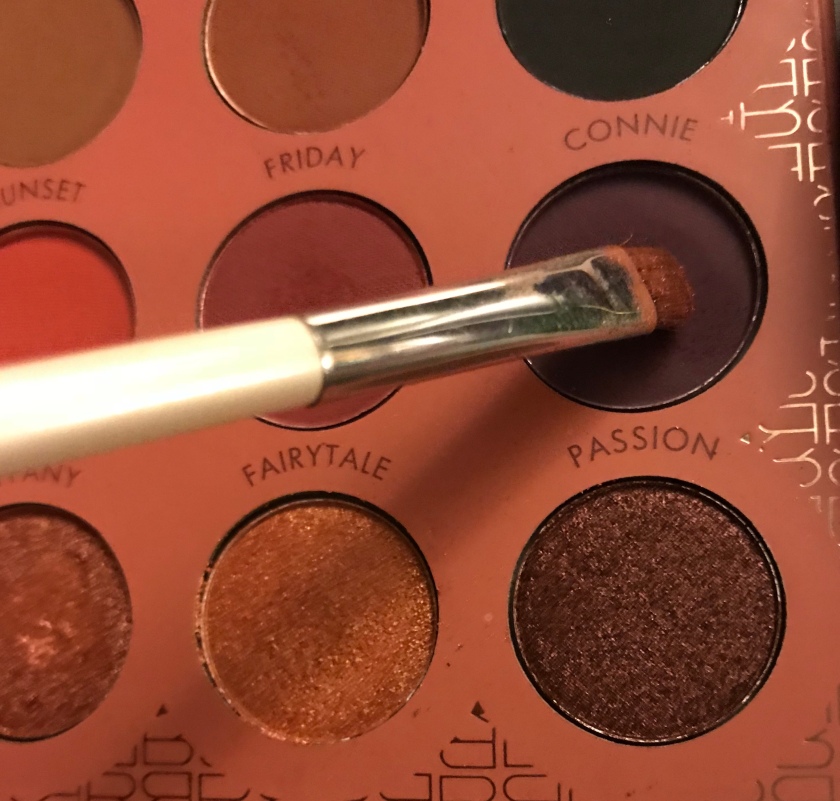
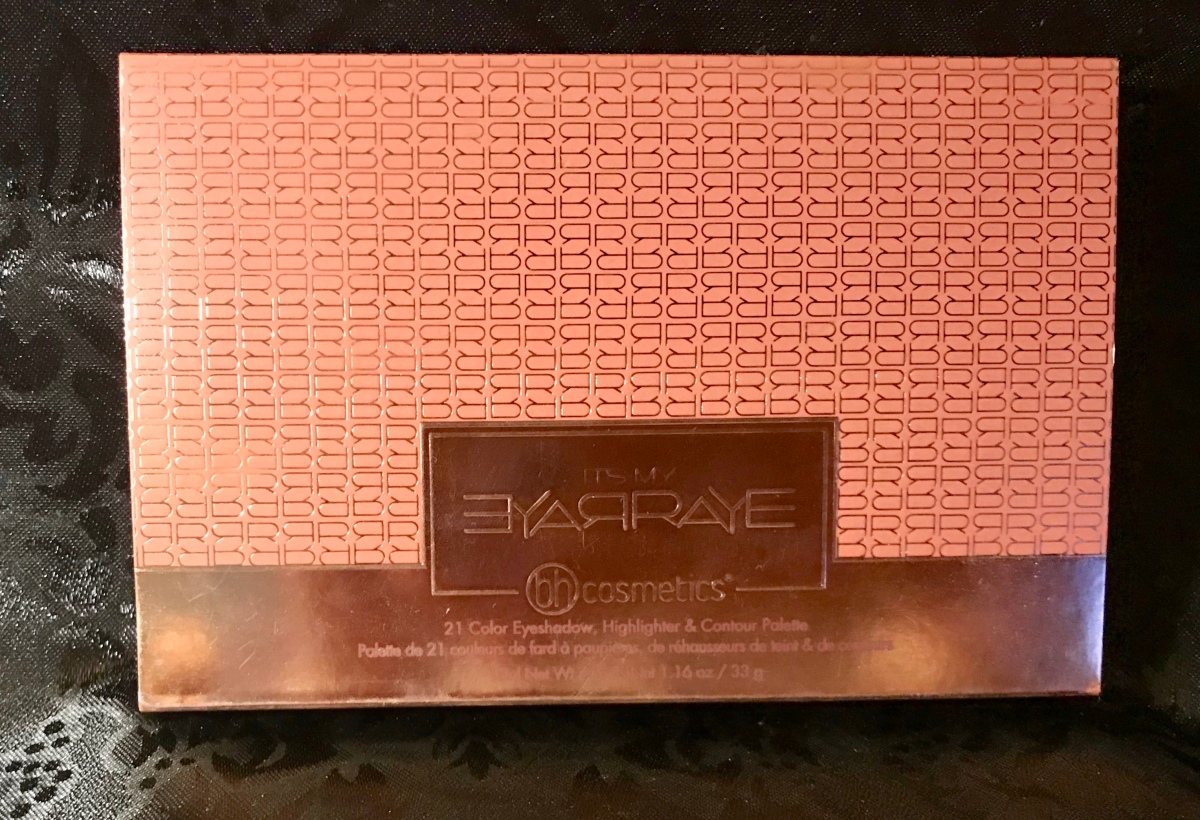
This collaboration between BH Cosmetics and YouTube beauty influencer, It’s My Raye Raye includes 15 eye shadows, 3 highlight shades and 3 contour shades. The palette contains a mirror.

fullsizeoutput_196e

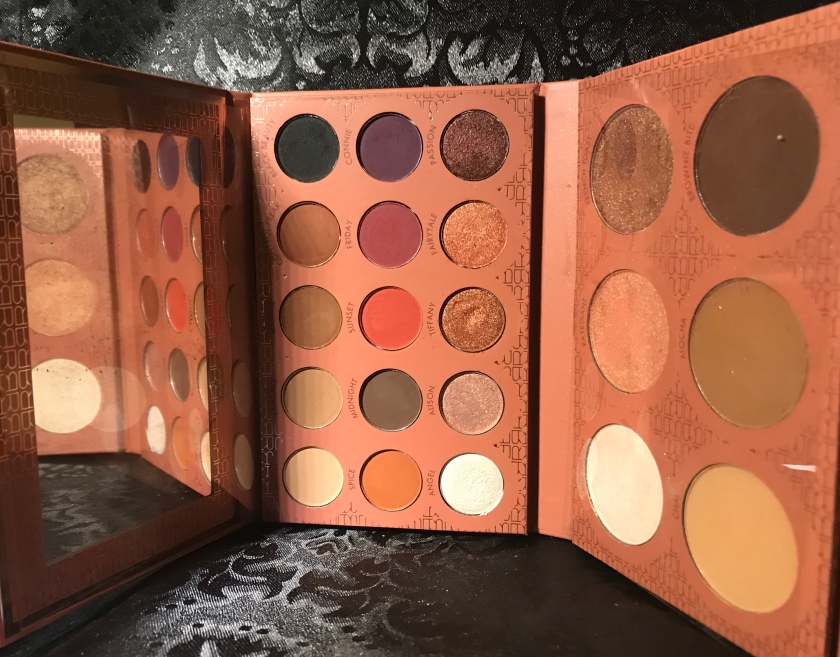
Packaging: Since it is the first thing you see with a product, packaging is important. This product is set up a s a tri-fold. The mirror folds over the shadows, then the contours and highlights close over that. I think the package design is key here since there are multiple products within this palette because you don’t want them mixing. The compact design also makes this very easy to travel with. I think the packaging color is pretty— pink and rose gold (two of my favorite colors right now— and I really appreciate the mirror.

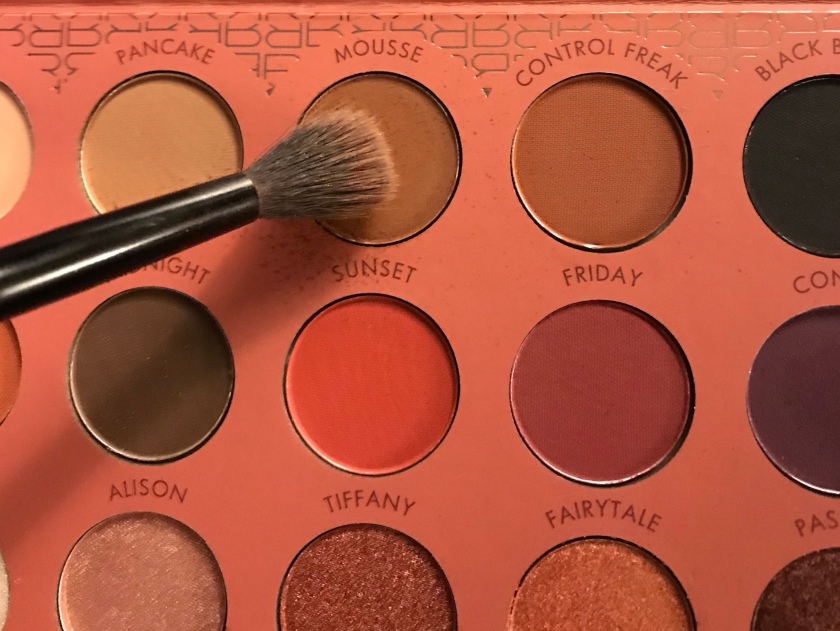
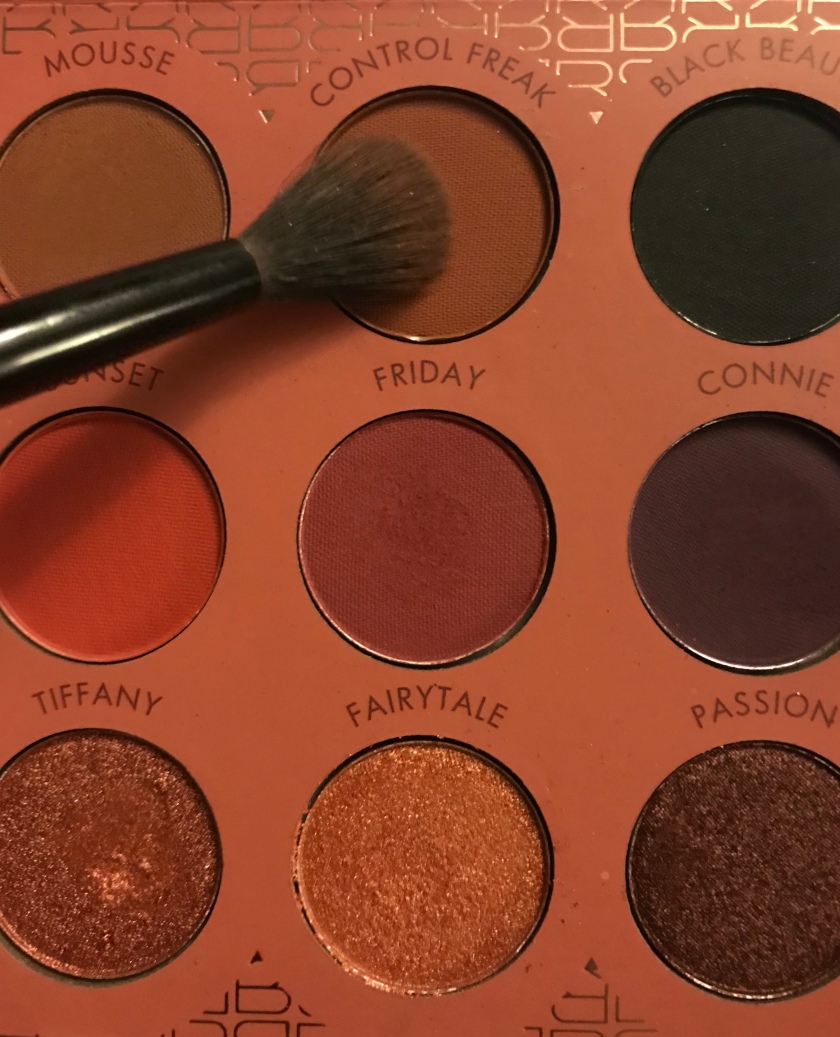
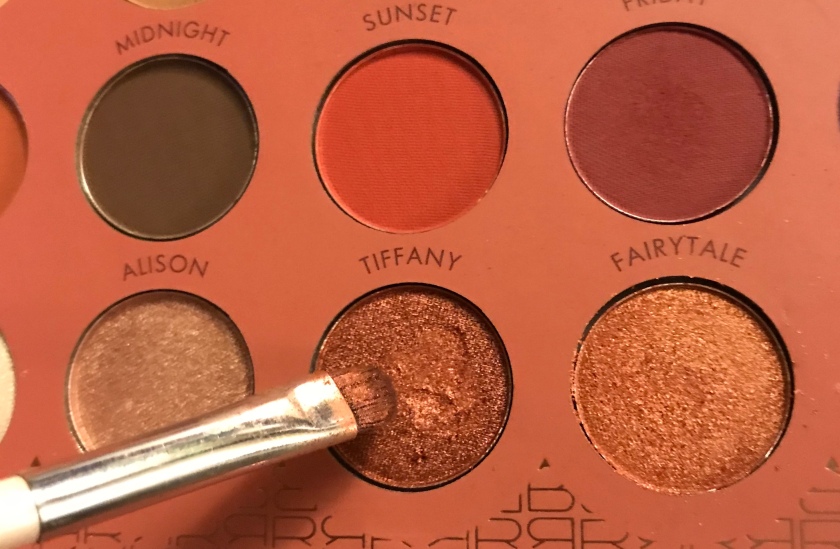
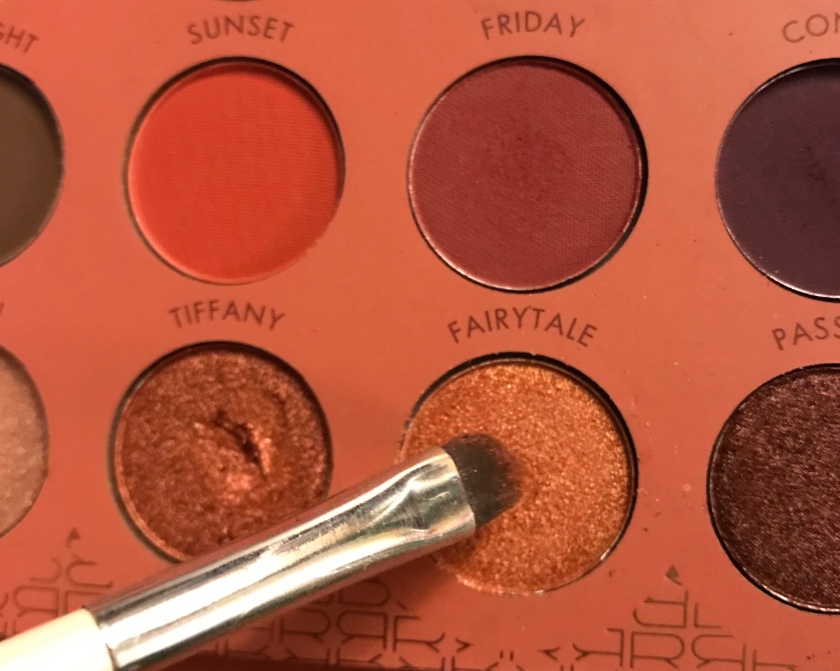
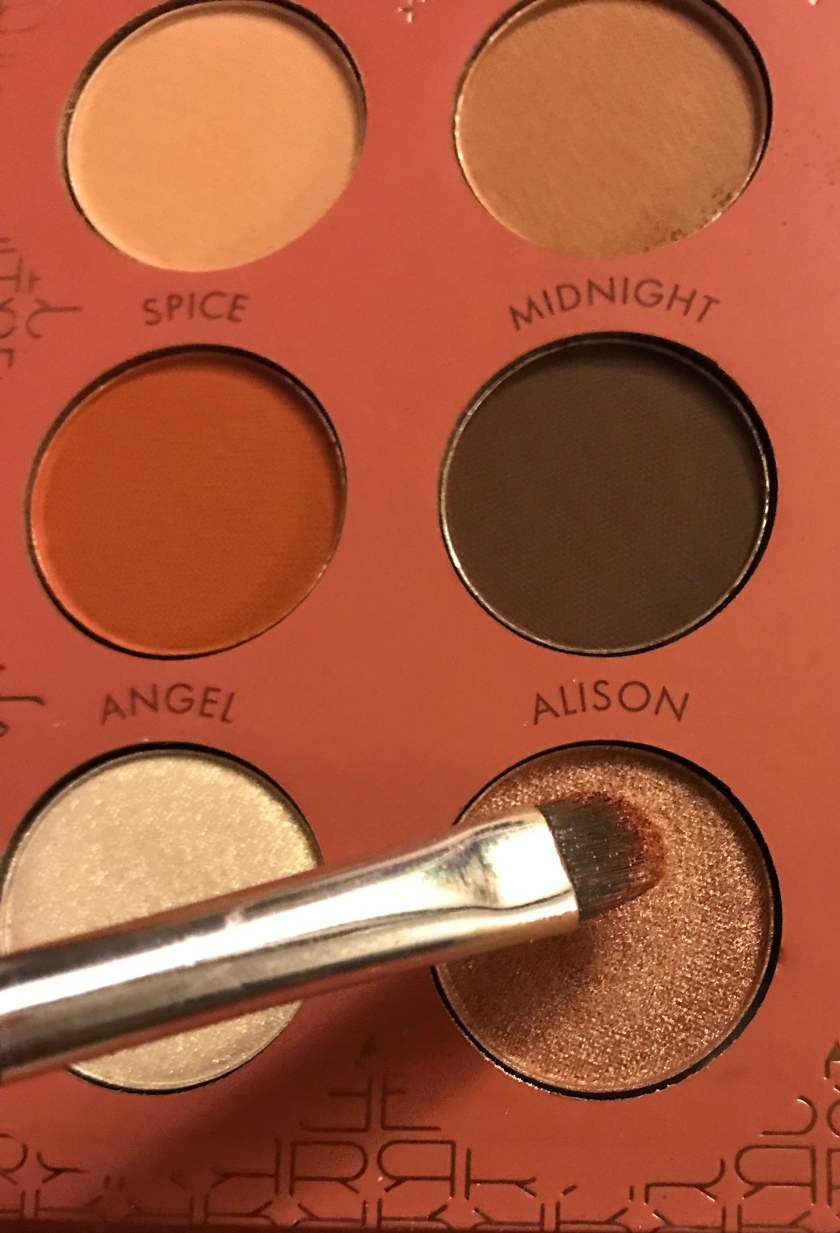
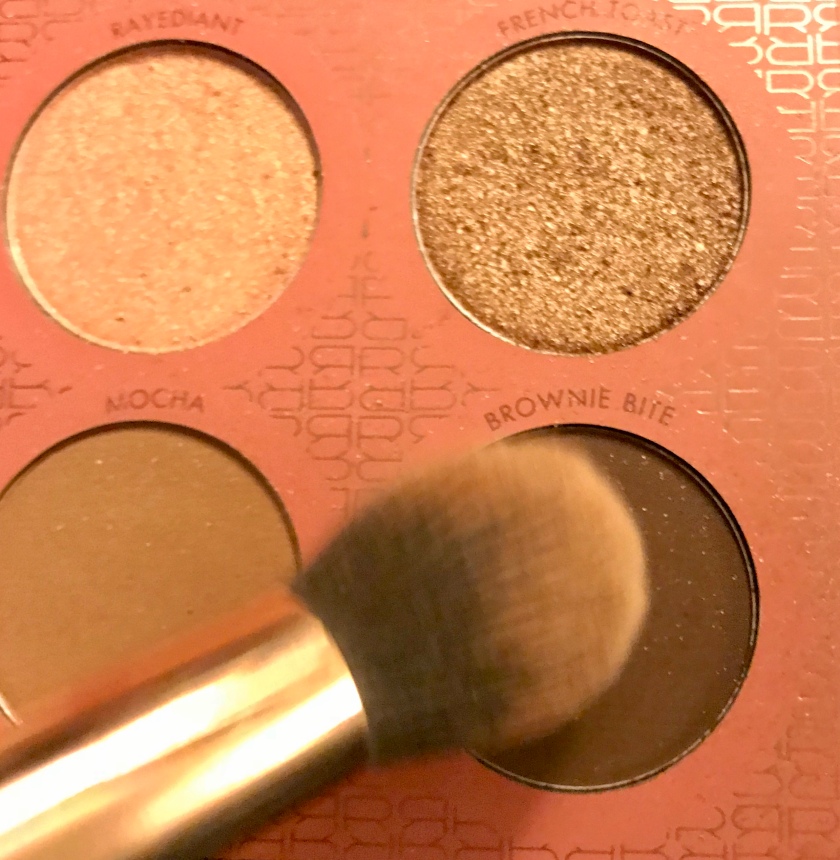
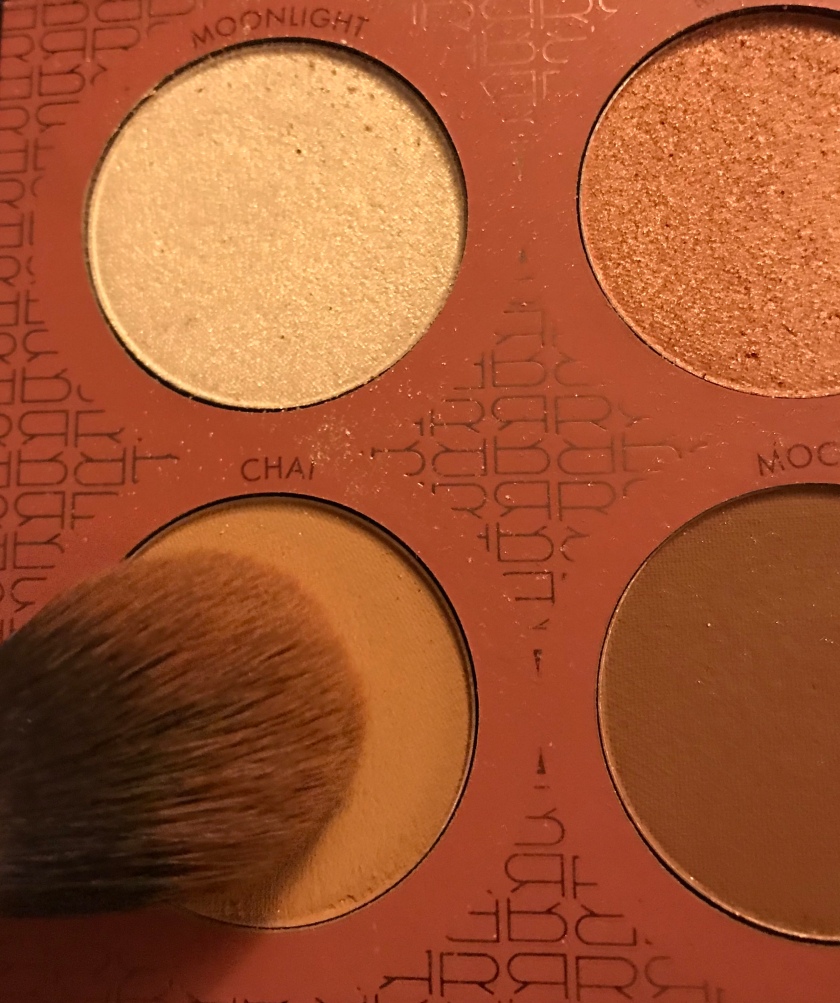
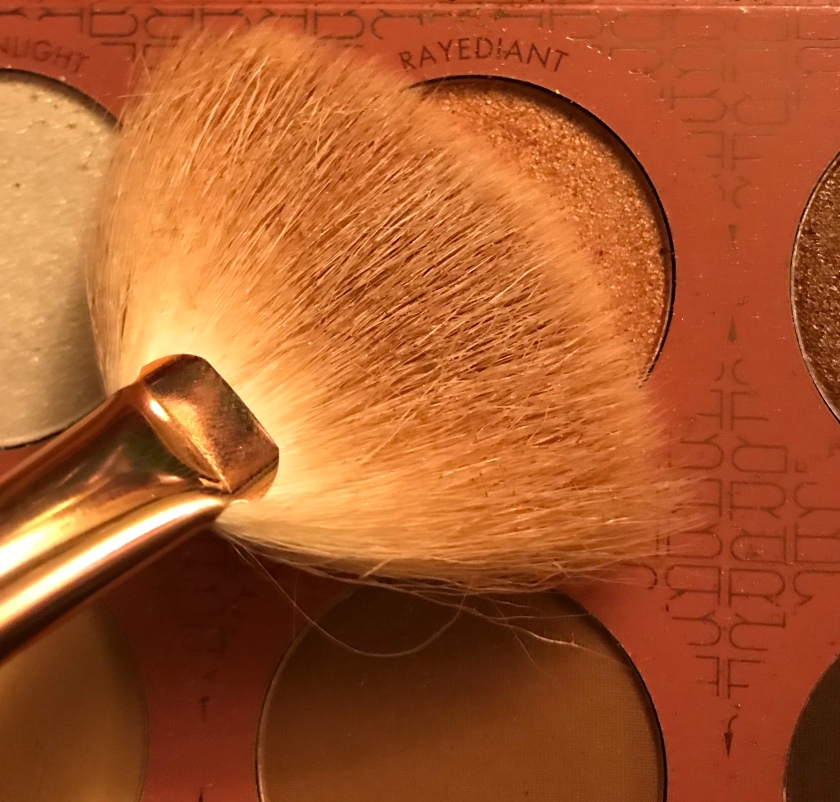
Color: This is another warm neutrals palette with mattes and shimmers. Some people may be tired of the color scheme, but this is the first— that I can think of—that contains other face products. The fact that the highlight colors coordinate with the shadow colors is perfect for giving you a cohesive makeup look.

fullsizeoutput_19ef

fullsizeoutput_19f6

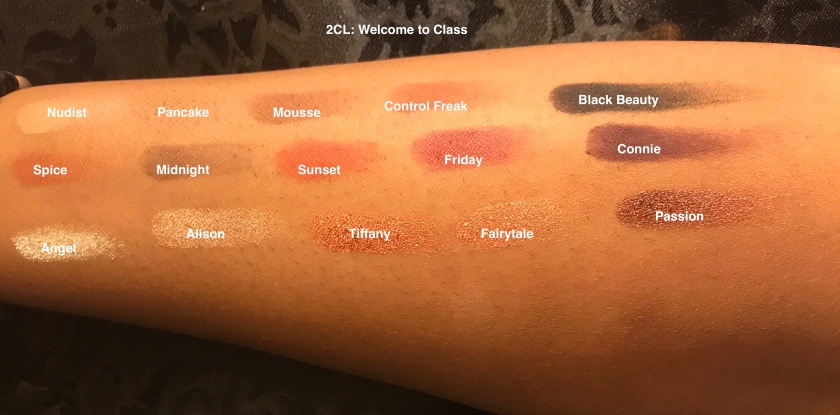
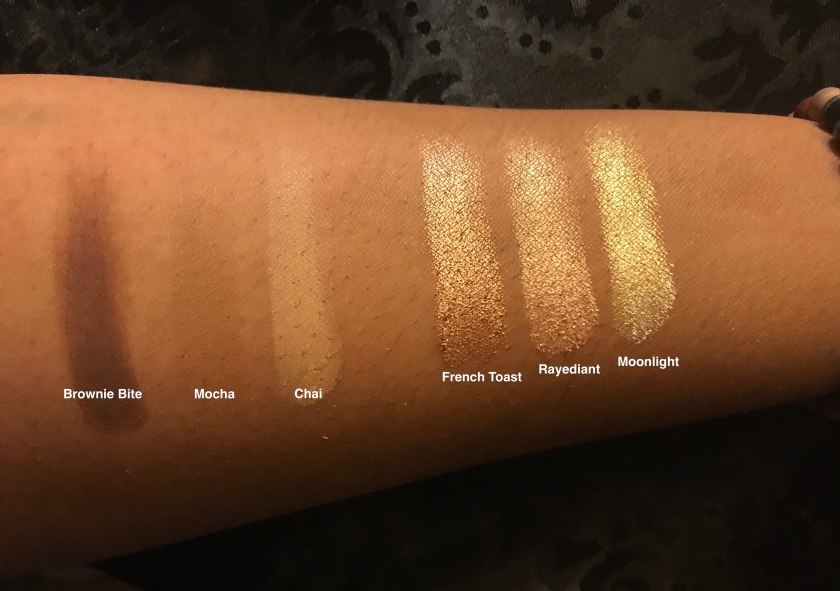
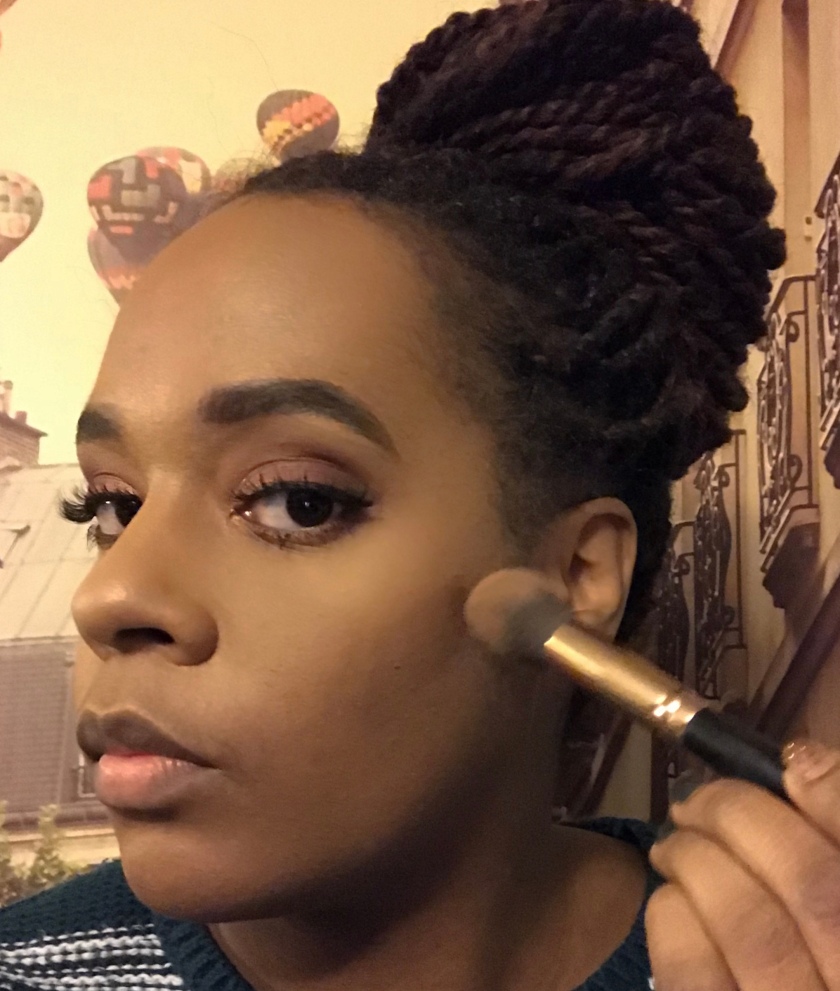
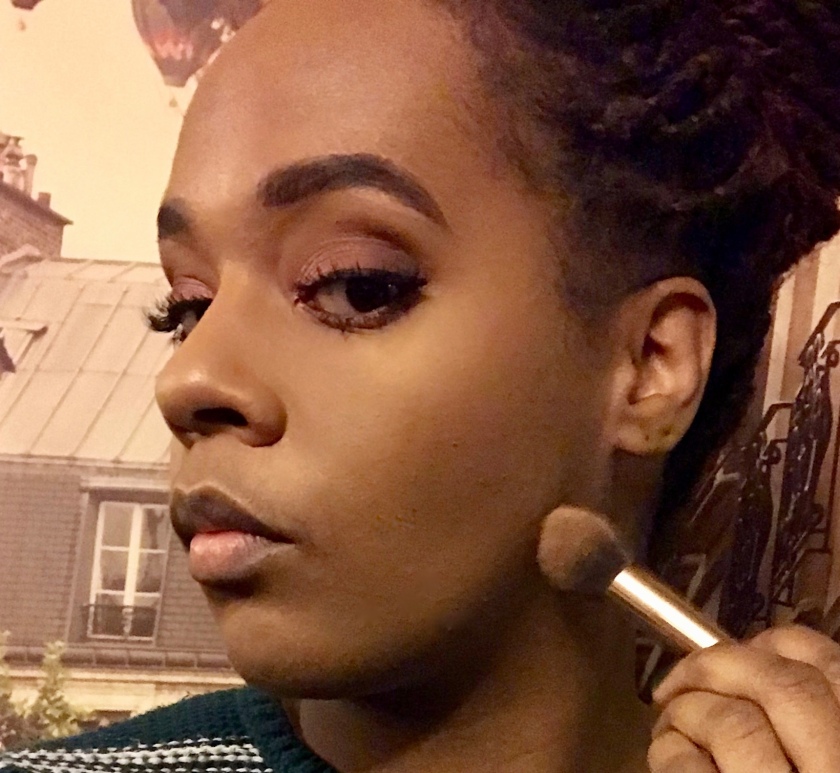
Wear: All of the shadows, highlights and contour colors within this palette are highly pigmented. The shadows and highlight colors are very creamy. All three products blend well and wear all day. The contour and shadows last a bit longer than the highlight, I think, but they all will get you through a full day.

The only negative about this product is that the shadows can be slightly powdery, but it’s not a huge issue.

Overall, I think this is a REALLY great palette, but ESPECIALLY for the price ($22.50). As the first one I have tried from BH Cosmetics, I am impressed. If you are traveling light for a weekend getaway, or do not like to bring bunch of makeup on vacation, this palette is all you need. You can do day and night looks, full matte looks and bolder, more vibrant looks. I give this a solid 5 stars.

It is now available at Ulta, but I am actually so impressed that I will be giving one away to one of our followers (from one of our social media pages or the blog) along with the BH Cosmetics x It’s My Raye Raye brush set (and some other, yet to be announced, goodies) in our March giveaway contest. (Stay tuned for instructions on how to enter.)

Let me know in the comments if there are any other palettes you guys would like to be reviewed, or any makeup looks for which you want a tutorial.

Stay tuned and thanks for reading!

-LDS👩🏾‍💻💜

Everyday Glam tutorial featuring the BH Cosmetics x ItsMyRayeRaye Palette

My pictorial of how to get this everyday glam look using the BH Cosmetics x It’s My Raye Raye palette– shadow, contour and highlight.

fullsizeoutput_19e6
Starting with my base makeup (foundation, concealer, powder & brows)
fullsizeoutput_1979
Using the BH cosmetics x It’s My Raye Raye palette
fullsizeoutput_197c
Start with Mousse as the transition shade
fullsizeoutput_197a
Using a fluffy blending brush, put Mousse in crease. Also put it slightly above and below the crease
fullsizeoutput_197d
Taking a denser shadow brush, pick up a little bit of Connie.
fullsizeoutput_197e
Use your brush to create a “V” shape on the outer 1/4 to 1/3 of your eyelid.
fullsizeoutput_197f
Using the same brush, pick up a little bit of Friday.
fullsizeoutput_1981
Pat that right next to Connie, overlapping just slightly.
fullsizeoutput_1983
Take the blending brush, without adding product, and blend Connie and Friday where they overlap. Also, blend both colors at the crease.
fullsizeoutput_1984
Using a flat shadow brush, pick up Tiffany (for a more intense shine, wet your brush with setting spray, but these shadows are very pigmented as is. So, I just used dry brushes).
fullsizeoutput_1987
Fill in the rest of your empty lid space with Tiffany. You can slightly overlap onto Friday.
fullsizeoutput_1989
Taking the blending brush, go slightly into Control Freak.
fullsizeoutput_1995
Going only into the crease (not above or below), blend Control Freak into the crease.
fullsizeoutput_198c
Using either a smudge brush, or a flat brush with a flatter top, dip into Connie again.
fullsizeoutput_1993
Smudge Connie on the other 1/3 to 1/2 of your bottom lash line.
fullsizeoutput_198e
Using that same brush, dip into Tiffany.
fullsizeoutput_1991
Starting on the inner corner, smudge Tiffany along your entire lash line.
fullsizeoutput_1997
Taking a flat shadow brush, pick up Fairytale.
fullsizeoutput_199c
Put Fairytale halfway into the space on your lid where Tiffany is (so if Tiffany is on the first half of your lid, Fairytale should be on the first fourth).
fullsizeoutput_199d
Take the same brush and dip into Alison.
fullsizeoutput_19a6
Put that in the corner of your lid.
fullsizeoutput_19ae
This is what the shadow will look like.
fullsizeoutput_19b6
You can see the gradient of light to dark.
fullsizeoutput_19bc
Add some liner and lashes. I also add mascara to my bottom lashes.
fullsizeoutput_19bf
Using a contour brush, dip LIGHTLY into Brownie Bite (or Mocha if your skin is more fair). Use a very light hand. This contour color is extremely pigmented.
fullsizeoutput_19c2
Concentrate the contour right under your cheek bone. Use light back and forth motions to blend it out.
fullsizeoutput_19c9
Picking up a little more of the same color, go lightly along your jawline to slim your face. Blend it out well.
fullsizeoutput_19ca
Lightly dip into Chai with a fluffy powder brush.
fullsizeoutput_19d6
Sweep away any powder or fall out under your eyes (only for deeper skinned people).
fullsizeoutput_19d8
Taking a fan or highlight brush, dip LIGHTLY into Rayediant (trust me—-a light touch is important here unless you want to be beaming to the heavens).
fullsizeoutput_19db
Sweep Rayediant lightly across the high points of your cheeks. You can also add it onto your nose, chin & Cupid’s bow.
fullsizeoutput_19e3
Add a cute lippie and some setting spray, and you are done!

K-Beauty Corner: 10-step Korean skin care regiment

A quick guide to the 10-step skincare routine that will have your face in its best condition possible.

Hello, beautiful people.

Welcome to the first K-beauty corner of the new year. This month’s feature is not about a brand or product, but is all about the process. One of the biggest aspects of Korean beauty to be gaining traction in the West right now is the Korean skin care regiment. While many people are hesitant because of the many steps, others are flocking to it because of its amazing results. While I must honestly say that I am not as diligent as I ought to be, I have personally seen the positive effects of adopting this regiment.

Here are the ten steps that should be done twice per day:

Step 1: Oil Cleanser

Step 2: Foam Cleanser

Step 3: Exfoliator (3x per week max)

Step 4: Toner

Step 5: Essence

Step 6: Serum

Step 7: Sheet Mask

Step 8: Eye Cream

Step 9: Moisturizer

Step 10: SPF (obviously not necessary at night)

Ten steps seems like a lot, but keep in mind that some steps, such as exfoliating do not need to be done every day. Other steps, such as an essence, can be left out based on your skin’s needs. Personally, I do at least 5 of these steps twice per day, and I add in a third cleansing step.

If anyone is interested in trying the Korean skin care regiment, but feels like 10 is way too many steps for you to realistically commit to, here are the key parts:

  1. Double cleanse– The oil gets into your skin and breaks down & pulls out the grim and makeup of the day. The cleanser washes away the residuals.
  2. Toner– Your skin needs to be balanced after multiple cleansings.
  3. Serum– It’s like vitamins for the skin.
  4. Eye cream– The skin around the eyes is delicate. Pay it a little extra attention.
  5. Moisturizer & SPF– Combine the last two steps by using a facial moisturizer with SPF. At night you can opt for a heavier face cream without SPF.

Also, keep in mind that taking care of yourself and your face should not been seen as a chore or a task to cross off your list of things to do. Think of it as a way to pamper yourself. You are giving yourself and your skin the attention it deserves.

Give them a try and let me know if you saw a difference in the condition of your skin. Soon I’ll be showing my full skincare routine which includes the products I use for each of these steps.

Thanks for reading!💜

ANOTHER 2017 Favorites List

I really didn’t intend on doing this, but I really love all of these products. So, I decided to share them in a simple list. No frills. No fuss.

So, I wasn’t going to do this, but because the blog wasn’t started until the fall, I didn’t even get to talk about the majority of the beauty products I used throughout the year. Since I plan on trying a ton of new products this year, I decided that it is only fair to tell you what I’ll be using as a baseline— my favorite products of 2017.

Face Primer:

For mattifying: Givenchy, Mister Mat, Matifying Primer & Instant Touch-up

Everyday use: Stila, One Step Correct, Skin tone correcting & brightening serum

Foundation:

Make Up For Ever, Mat Velvet+ in #57

It Cosmetics, Your Skin But Better CC+, Color Correcting Full Coverage Cream (so really a foundation plus extra benefits)

Concealer:

Sephora, Bright Future, Gel serum concealer in Toffee & Crème Caramel

Setting Powder:

Laura Mercier, Translucent Loose Setting Powder in Translucent and Translucent Medium Deep

Setting Spray:

Make Up For Ever, Mist & Fix O2

Finishing Powder:

It Cosmetics, Bye Bye Pores Pressed, Airbrush Silk Pressed Anti-Aging Finishing Powder

Blush:

Tarte, Blush Bazaar, Amazonian clay blush palette

Bronzer:

Sonia Kashuk, Chic Luminosity Bronzer in #40- Goddess

Highlight:

Becca x Chrissy Teigan, Glow Face Palette

Contour:

Sephora, Contour Palette, Powder contour palette

Brows:

Benefit Cosmetics, Precisely My Brow, eyebrow pencil

Benefit Cosmetics, Gimme Brow, brow gel

Mascara:

L’Oreal, Voluminous Lash Paradise in Blackest Black

Eye primer:

Urban Decay, Eyeshadow Primer Potion- Original

Eyeshadow:

Too Faced, Sweet Peach eyeshadow palette

Eyeliner:

EM Cosmetics, Illustrative Eyeliner- Brush Tip

Lip formula:

Yves Saint Laurent, Tatouage Lip stain


I highly recommend ALL of these products. These are all things that I wore daily for at least one period of the year, and would DEFINITELY repurchase.

Let me know in the comments what your favorites were for 2017.

Here’s to even better makeup days in 2018!💜

Product review: NYX Powder Puff Lippie

Brand new lip item from NYX reviewed.

Hi guys & Happy New Year!

I hope that these first few days of 2018 have been treating you well. Let’s make 2018 our most beautiful year ever.

As my first post  of the year, I wanted to share with you guys a quick review of a new lip product that just launched and that I fell in love with quickly: NYX Powder Puff Lippie.

img_3923

If you follow our IG and/or Twitter, you would have seen that I posted about this product AS SOON as I tried it. I stumbled across it on my way to check out at Ulta. I thought it looked quite interesting and the swatches on my hand felt insanely soft. The tip of the product is a super soft puff, and the powder lip cream (as NYX defines it) is so soft and pillowy that you can’t tell if you’re actually applying anything just by feel alone.

Image 1-2-18 at 6.43 PM

I got the color Cool Intentions. It is a pretty mauve/rose with grey undertones. I think it works great as a cool-toned nude for most skin tones. The formula dries down to a matte.  It doesn’t settle into lines like some mattes do, but just sits on top, making your lips look pretty smooth. The color does transfer, and I wouldn’t say that it is super long-wearing. However, it makes your lips feel like fluffy pillows and is so incredibly soft, that I don’t mind reapplying it throughout the day.

My verdict: Run and get it. Right now.

Have a wonderful year guys. I look forward to creating great content for you.